


Do you know what the true unsung hero of your kiddo’s art box is? It’s markers. Those inky, high pay-off coloring tools that give rich vibrant color are being squandered when you’re only using them to color inside the lines of a coloring book. Instead, let us help you unlock the full potential of these inky dynamos! With nothing more than a set of markers and some simple household supplies, your little Picassos can turn their imaginations into a reality and create some seriously cool art projects. It's time to let those markers flex their artistic muscles and show what they're really made of!

 We would love to see photos of your craft projects! Tag us on Instagram at @WeAreOOLY using #OOLYcreateyourhappy.
1. Shine on with Foil Art Projects
Forget coloring on paper - coloring on foil is the new vibe! This shiny and smooth surface is the ultimate canvas for your little artist to create something truly stunning with OOLY’s marker collection. Foil's sleek texture allows markers to simply glide over it with ease, making it a great material for kids of all ages to work with. Let's not forget that a silver background is basically like a built-in disco ball for your child's artwork! So, grab some aluminum foil, cut it into your desired shape or size, and let your creativity run wild. Your iridescent masterpiece will be so dazzling that people will be foiled by its beauty!2. Brewing up Creativity with Coffee Filter Art
Coffee filter art is like a double shot of creativity with a side of science! To get started, grab some coffee filters (and maybe a latte to fuel your imagination) and let the coloring begin. Encourage your little ones to get as creative as possible with Switch-Eroo Color Changing Markers that are sure to add a flair to their work, coloring at random or in patterns, leaving plenty of white space for some serious color bleeding action. Once the colors are looking deliciously vibrant, it's time to get them wet! Spray the filter with water and watch as the colors blend together into a magical tie dye. You can also create some seriously impressive chromatography art. It's a science experiment that’s so cool, because it's also art! All you need to do is draw a thick circle in the center of the filter with a marker, leaving a white space in the middle. Fold the filter into a cone shape and dip the uncolored tip into a shallow glass of water. Watch in amazement as the colors start to flow up the filter like a rainbow river, creating a stunning gradient effect Once your cool brew artwork is dry, turn it into flowers, butterflies, pompoms, snowflakes or any other creation you can dream up!3. The Power of Multipurpose Markers
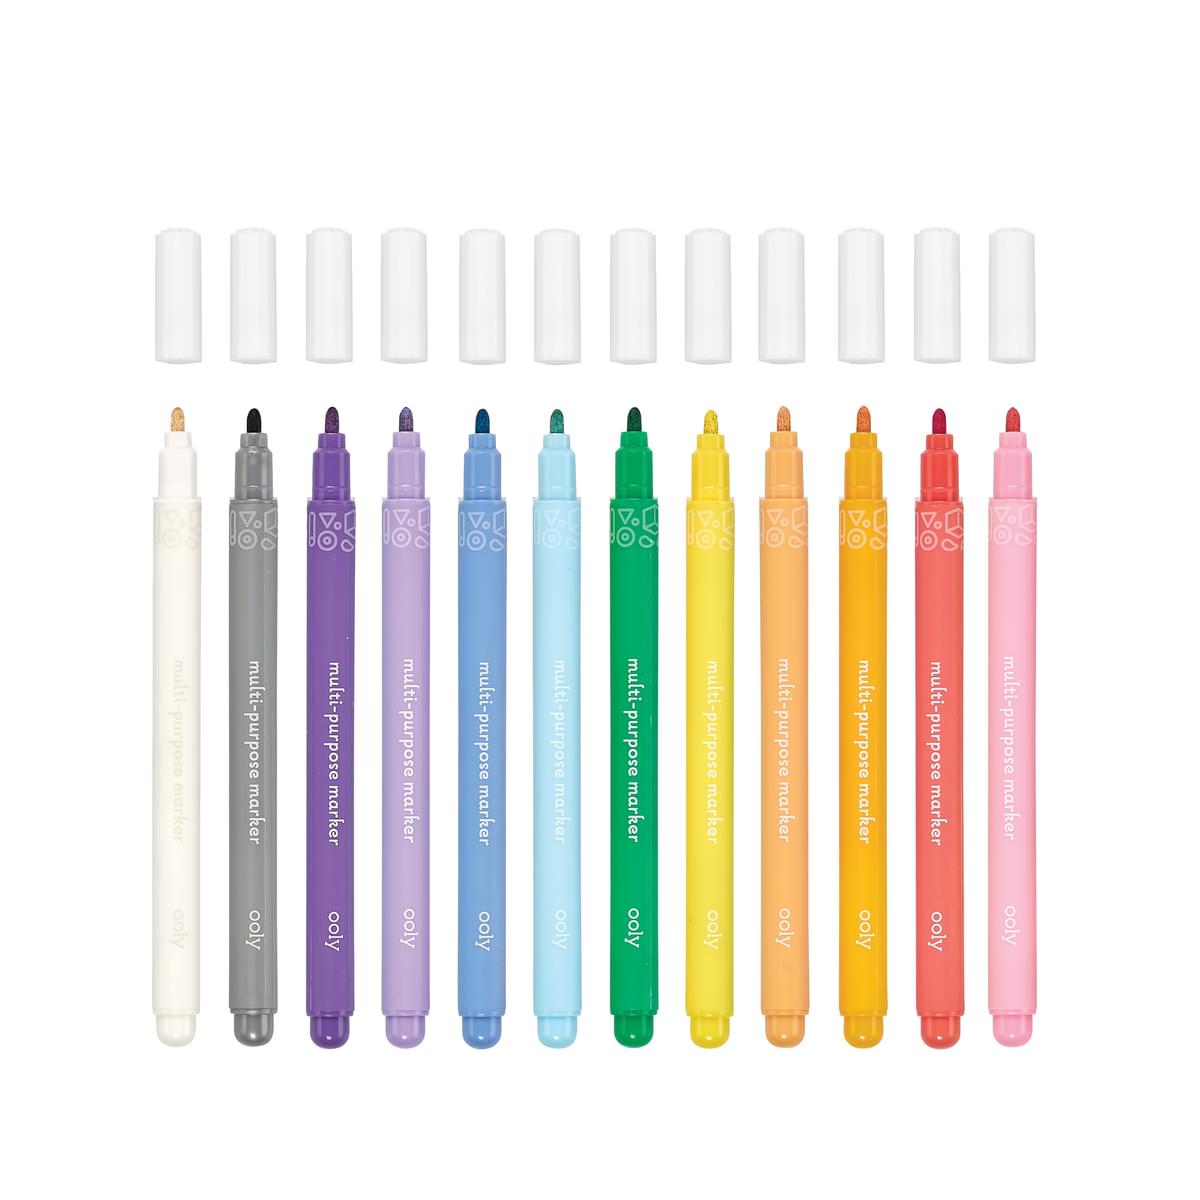
Who says markers are just for labeling your leftovers? Not us! With a little creativity and some colorful inspiration, you can turn multi purpose paint markers into a go to art supply. Their ability to adhere to uncommon surfaces, gives you the flexibility to take your creativity to the next level. Make a CD mobile - take those old CDs and tin cans, and give them a new lease on life by coloring them with your multi purpose paint markers, and stringing them together to create a vibrant mobile that will brighten up any space. Jars can be transformed into stunning pieces of art with just a few swipes of your marker. Place them in a sunny spot and watch as the light filters through the colorful designs for a stained-glass effect. But wait, there's more! Those plastic water bottles that usually end up in the recycling bin can be decorated and transformed into whimsical spirals that catch the light and make your space feel like a party. Just color them with your multi purpose markers, cut them into spirals, and hang them up.4. Color Explosion: Filtered Canvases
Let's turn your little ones into mini-Monets with this fun project! Start by getting some blank canvases from your local craft store, and let your kids go to town with their Mighty Mega Markers. Encourage them to get as detailed or abstract as they want, as long as they use plenty of color. Once the canvas is covered from top to bottom and side to side with their vibrant designs, it's time to add a splash of rubbing alcohol to the mix. Pour it evenly across the canvas and watch as the colors start to spread and blend together like a beautiful rainbow explosion. For an even distribution of color, tilt the canvas from left to right and up and down. Now all that's left to do is wait for it to dry and voila - you've got a unique masterpiece ready to be displayed for all to see.5. Rain Splatter Art
This is a great way to turn a rainy day into a rainbow of fun! On a rainy day, grab some washable markers and a piece of white paper and let your little artists go wild with their scribbles. Once their masterpieces are complete, take them outside and let them stand in the rain. The raindrops will transform the colors and create a whole new mesmerizing effect that's guaranteed to leave your little ones in awe. No rain? No problem! You can still achieve the same effect by hanging the drawing in light snow or spraying it with water from a spray bottle. Once it's all dry, you'll be left with a uniquely transformed masterpiece that's perfect for displaying. Who knew a little bit of rain (or snow or water) could turn a simple drawing into a stunning work of art? Who says markers are just for coloring inside the lines? With both permanent and washable options, the possibilities for artistic exploration are as endless as a fresh pack of markers. Whether you're drawing on foil, blending science and art, or harnessing the power of Mother Nature, there's no limit to what you can create. And if you want to take your child's artwork to the next level, be sure to check out the high-quality markers in our collection at OOLY. Trust us, they'll be tickled pink!
We would love to see photos of your craft projects! Tag us on Instagram at @WeAreOOLY using #OOLYcreateyourhappy.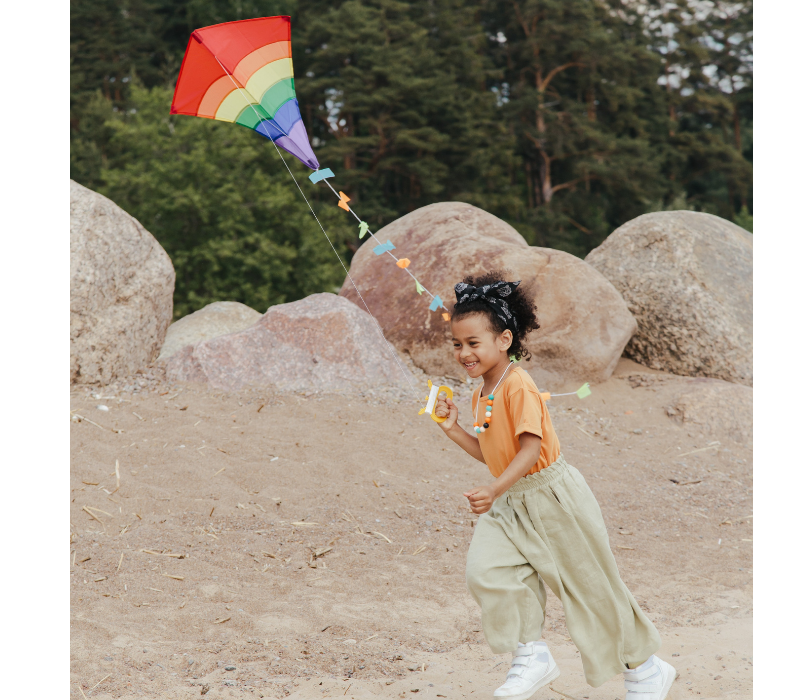


