


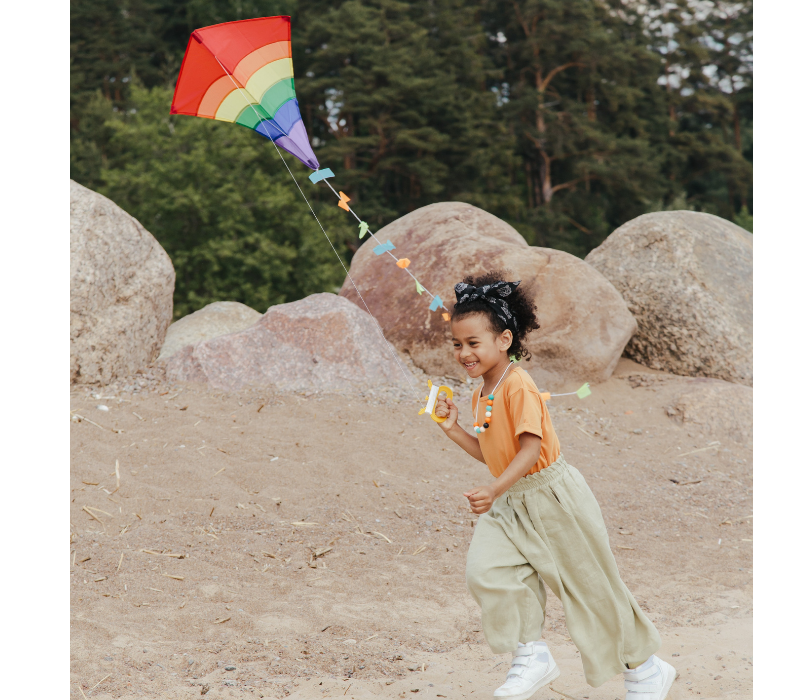
Photo by Ron Lach from Pexels
When the rain clears and the sun starts shining, what better way to shake the inside blues than to get outside and run around with your own, OOLY customized, homemade kite!
We know kids are always asking why and how, so along with the creation of a beautiful kite let’s also learn a bit of the science behind how a kite actually flies!


 Sooth Stix Watercolor Gen Crayons
 Lil' Poster Paint Pods
 Chunkies Paint Sticks Metallic
 Rainbow Sparkle Glitter Markers


 Image Credit: Good Housekeeping

So, HOW do kites fly?
Kites fly because the air pushes them with wind exerting a force onto the kite. With some aerodynamics with lift, gravity and drag, a kite flies with the lifting force of the wind that works opposite of gravity that creates the forward motion of drag. With a slight angle of a kite, the wind will allow it to sore in the air above you. And the tail of the kite (on flat kites) helps create that drag with balance. You will be able to feel this force from the tug of the kite from the string in your hand. You can learn even more about how kites fly, as well as drag, lift and force, from the Smithsonian: National Air and Space Museum.What is the best day to fly your kite?
The best day to fly your kite really depends on the wind speed. It can be sunny and have the perfect amount of wind, or it can be cloudy and cold with the perfect amount of wind. In order to tell what kind of wind will fly your kite best here is a helpful scale:
Image Credit: https://blog.metservice.com/BeaufortWindScale
This wind speed will make it easy for your kite to take off. You can still fly your kite at lesser wind speeds, but it might be harder and take a helper to get it up in the air. Higher wind speeds are risky and can damage your kite.Time to create your own kite!
What you will need:
- Wooden Dowels
- String
- Scissors (adult supervision required)
- White or colored Sketchbook Paper
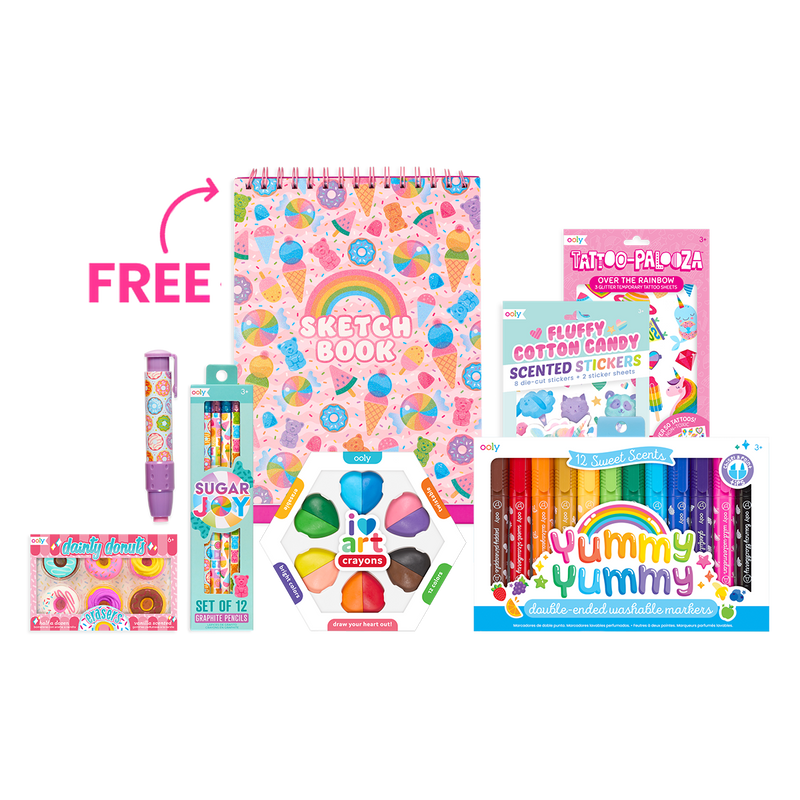
- Decorative tools:
Sooth Stix Watercolor Gen Crayons
Lil' Poster Paint Pods
Chunkies Paint Sticks Metallic
Rainbow Sparkle Glitter Markers
STEPS FOR PAPER KITE MAKING:
- Cut your paper into this shape. It can be as big as you would like and is the blueprint for the wooden dowels.
-
It’s time to decorate! Decorate your kite shape however your heart is inspired! Here are some of our favorite ideas:
- Polka Dots
- Stripes
- Glitter
- Chevron
- Write your name
- Superhero Symbol
- Before moving onto this step, make sure your paper is dry! If you used paint or glue, we recommend letting it sit for a couple hours to ensure you do not mess up your design.
- Now that your paper is dry, take one of your wooden dowels and cut it to the length of the top part of your shape to the bottom. For example:
- Now take another wooden dowel and cut it to the length of corners from left to right. Like this:
- Take your two dowels and place them in the shape of a cross. Take your string and tie it around the dowels meeting point until you get a sturdy hold. Example:
Image Credit: Good Housekeeping
- Cut a small notch onto the top of each dowel. This allows the string to sit within the notch and create the shape of your kite.
- Take your string and tightly go around the tips of the dowels until you make the outline of the kite shape. Your string will make the diamond outline of the kite like this shape:
- Tie a long piece of string to the center part of the shape where you tied the dowels together in step 5 and allow two arms lengths extra from this point. This will be the string you hold as your kite flies.
- Now, glue your structure (the dowels crossed and with the string around it for the shape) to the piece of paper you cut in step one.
- Make sure you are all dry and sturdy but now you should be ready to get outside, throw your kite in the air and run with it behind you!


