


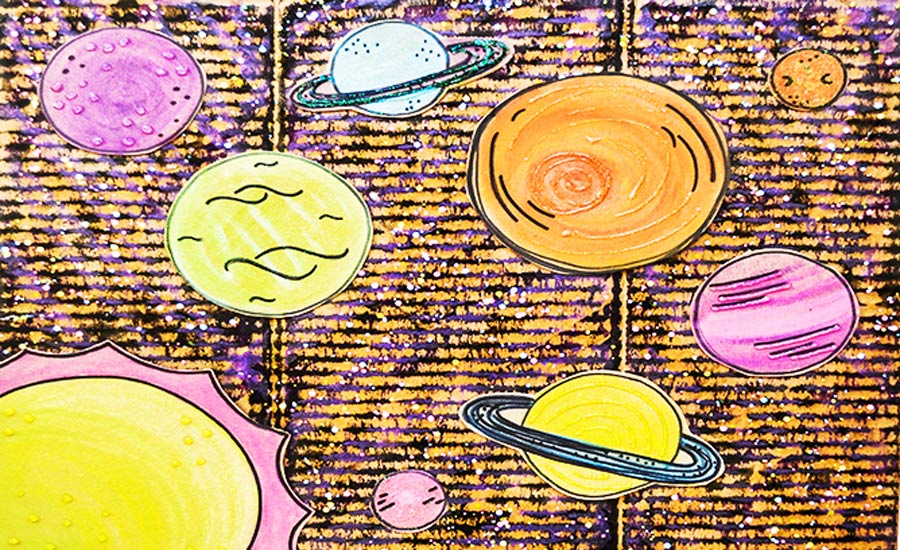
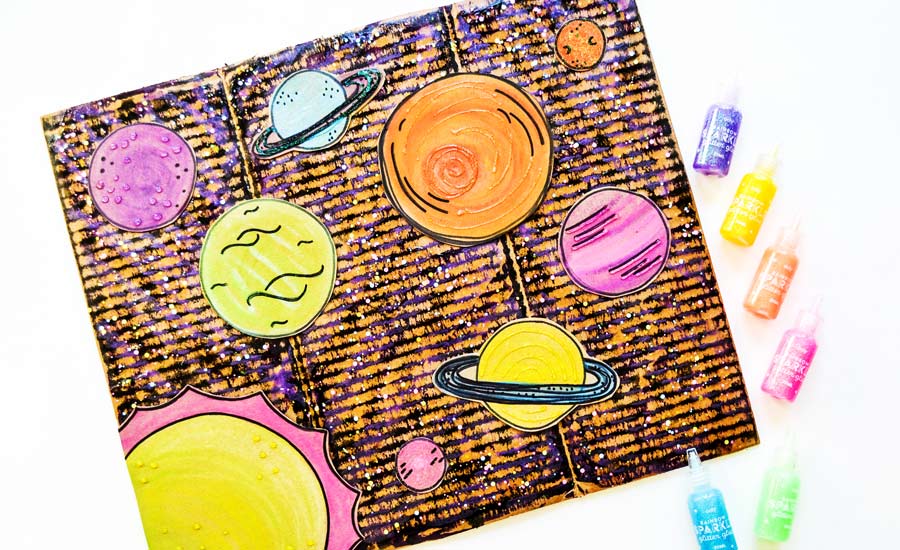
Looking for an easy, environmentally friendly and fun activity for kids to do at home? Created with recycled cardboard and lots of imagination, this outer space craft combines art, science and your favorite OOLY supplies! Kids can play with this collage of colors and sparkles as they make a shining sun, 8 planets and an awesome backdrop of sparkly stars (thanks to OOLY's glitter supplies).
So grab some glue, cardstock and your imagination, it’s time to travel to a galaxy where stars and creativity have no limit!

 I love this solar system collage craft because it not only keeps kids busy at home, but it also encourages them to be creative, learn more about the solar system and let their imagination blast off! Happy crafting :)
This is a guest post written by Emily Limer from Making with Mommy. Follow @makingwithmommy on Instagram to see more fun craft ideas for kids!
Materials Needed for Outer Space Craft:
- 1 x Large Cardboard (rectangle)
- 1 x Small Cardboard (thin, like a cereal box) or White Cardstock
- Glue (liquid or hot glue)
- Black Permanent Marker or The Ink Works Markers
- Chunkies Paint Sticks
- Smooth Stix Watercolor Gel Crayons
- Pixie Paste Glitter Glue
- Rainbow Sparkle Glitter Glue
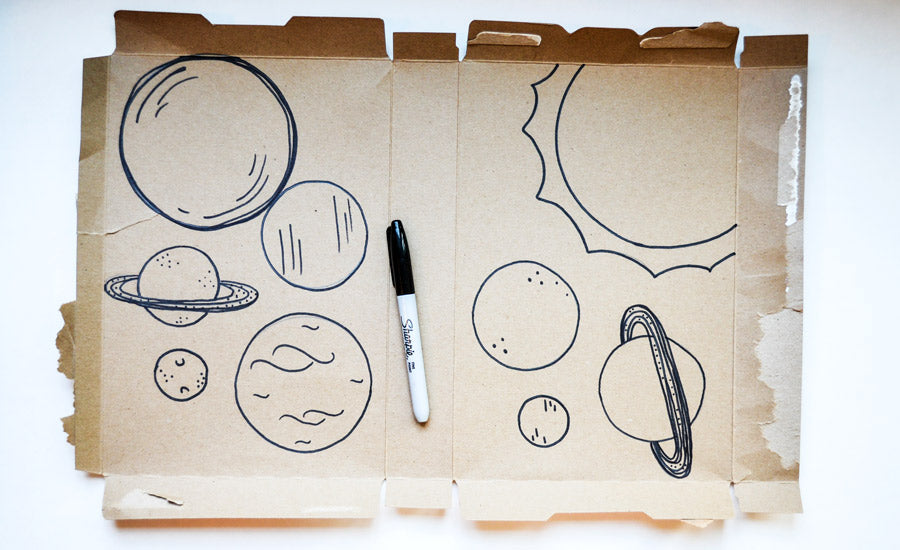
STEP 1:
On your thin cardboard or cardstock, use a black permanent marker to draw your sun and 8 planets. I used a variety of small round objects such as a container lid, a kitchen cup or even a roll of masking tape, as a stencil for creating my planets. Once you’ve drawn the basic shape of each planet, you can use your marker to add details.
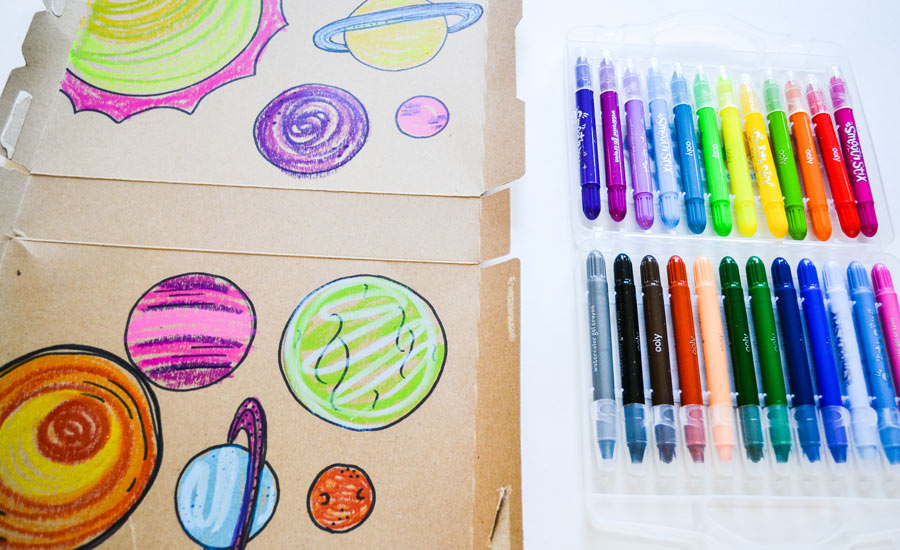
STEP 2:
Add color to your planets with OOLY's Smooth Stix Watercolor Gel Crayons. If you want to have multiple colored planets, you can simply blend any two watercolor gel crayons together with a little bit of water. I suggest using similar colors for each individual planet- this tends to look the best. For example red, pink and purple blend well together. Blue, green and yellow also blend nicely together. Try to avoid mixing complementary colors such as red and green, blue and orange, or purple and yellow -- this will create a brown color.
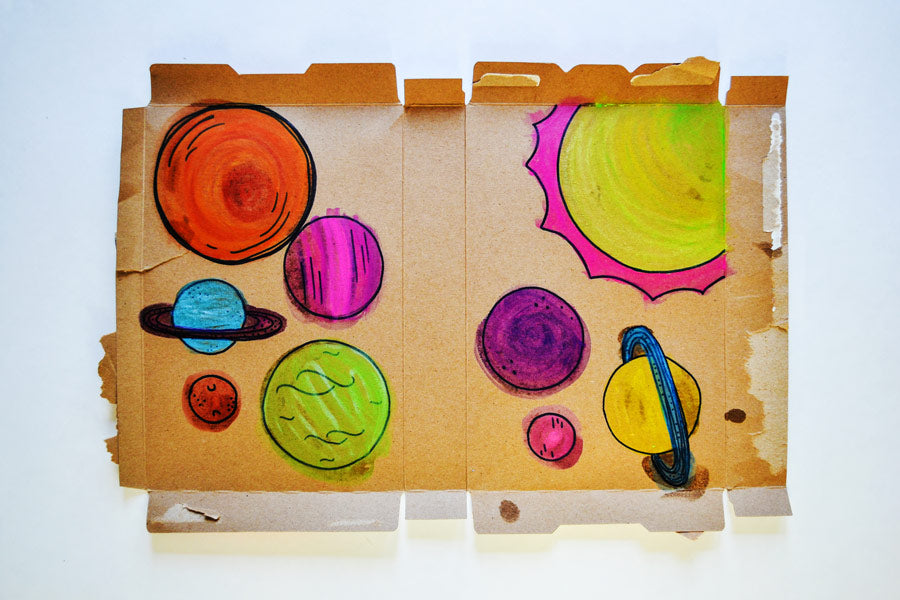
STEP 3:
Use water and the brush included in your Smooth Stix set to blend and spread your colors. Apply the paint in a small, circular motion to help spread and blend the gel colors evenly and smoothly. Once you’ve finished, your planets should have a lovely watercolor look. Make sure to let them dry flat before moving to step 4.STEP 4:
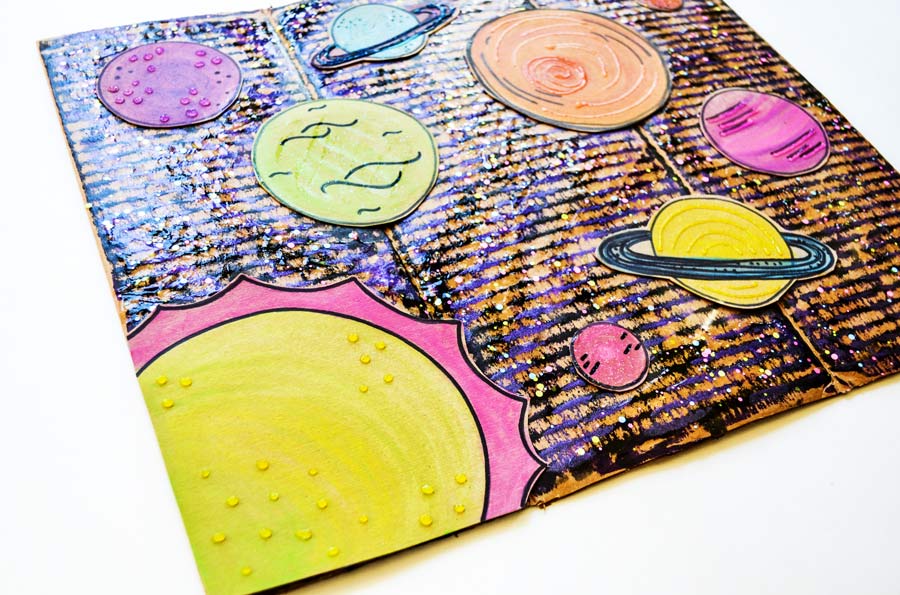
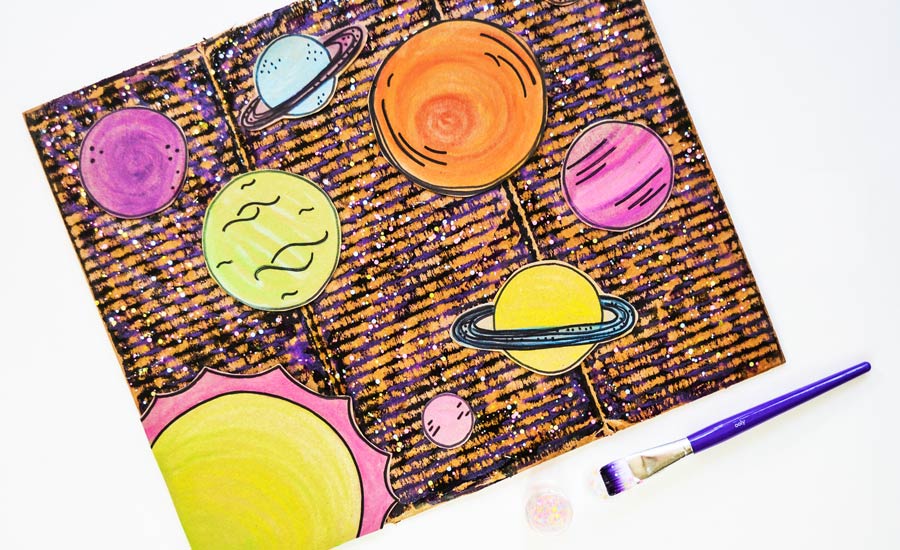
Next, we will create the background! Use your Chunkies Paint Sticks to color the large piece of cardboard. I used black, metallic purple and dark blue paint sticks and then layered the colors. If/when layering, allow each color to dry before applying the next - this usually only takes a couple of minutes.
STEP 5:
Once your planets have dried, cut them out. Use glue to attach the planets to your cardboard background. I recommend laying the planets out first, so you can find an arrangement you like best.STEP 6:
Now it’s time to add those sparkly stars! OOLY’s Pixie Paste creates the most beautiful background of stars. To create a starry look, use a paint brush to apply the pixie paste all over the background.
STEP 7:
And last but not least, add some shimmer and shine to your planets! OOLY’s Rainbow Sparkle Glitter Glue is great for adding small details to each planet. You can design polka dots, stripes, swirls - whatever you like! Finally, add a small area of sparkly highlight to each planet to give it that finished and complete look.
I love this solar system collage craft because it not only keeps kids busy at home, but it also encourages them to be creative, learn more about the solar system and let their imagination blast off! Happy crafting :)
This is a guest post written by Emily Limer from Making with Mommy. Follow @makingwithmommy on Instagram to see more fun craft ideas for kids!


