


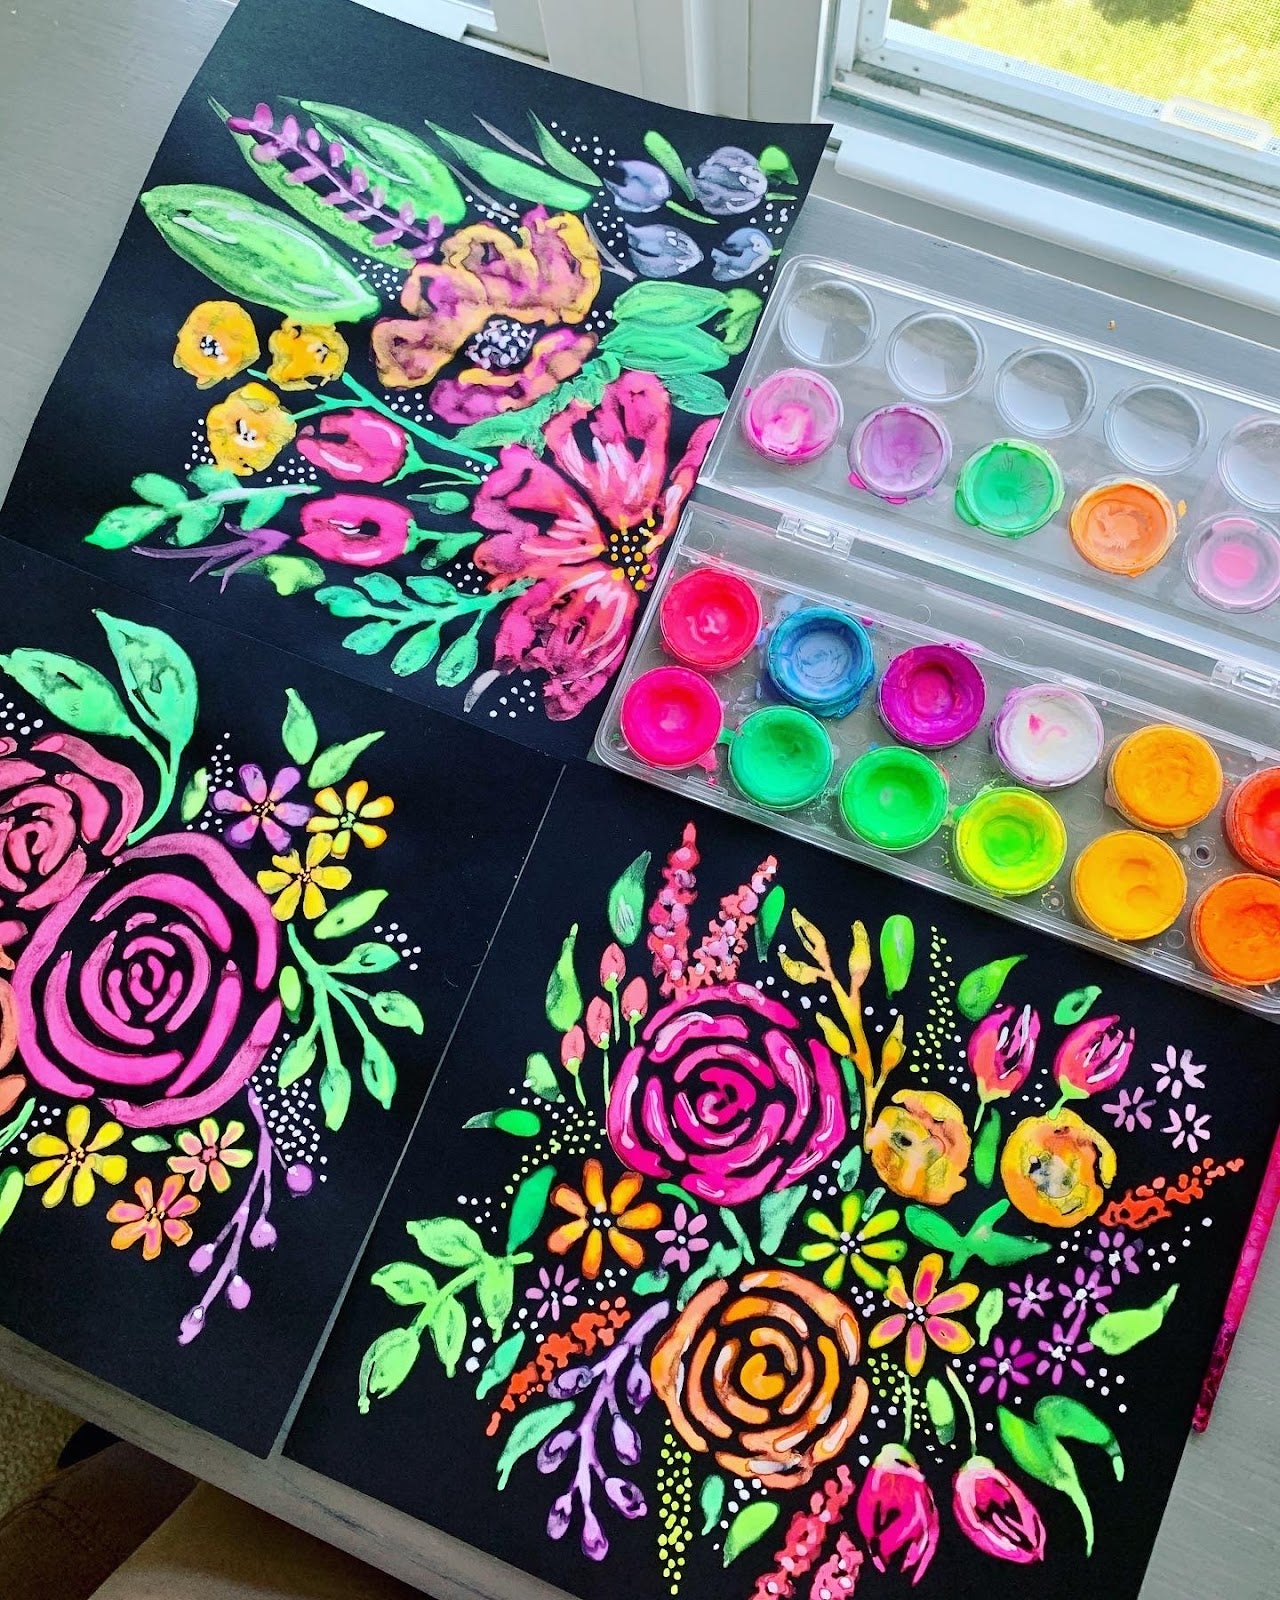
Art can provide families with an incredible way to slow down and find calm in the chaos of day-to-day life. As a mom of three and a former preschool teacher, I have had so many opportunities to witness the power of art with my own family at home and in my classroom. Beyond just helping your child develop creativity, art has numerous other benefits including strengthening fine motor skills, providing your child with calming, sensory input, encouraging independence, and promoting problem-solving and resilience.
In this post, I am going to provide 6 simple projects that you can use to provide a calm and creative moment at home. All of these projects use either crayons, markers, or paint. The OOLY products we used for these activities are all staples in our home craft cabinet!
 Materials needed:
 How to:
 Materials needed:
 How to:
 Materials needed:
 How to:
 Materials needed:
 How to:
This guest post was written by Emily Limer, a mom of three and preschool teacher from North Carolina. You can follow her on Instagram @makingwithmommy for more kids craft activities.
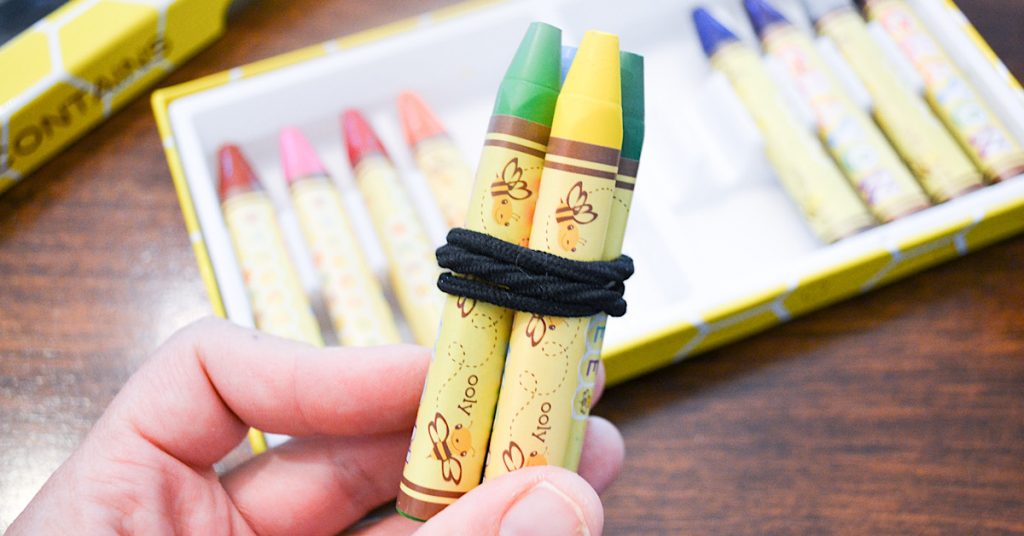
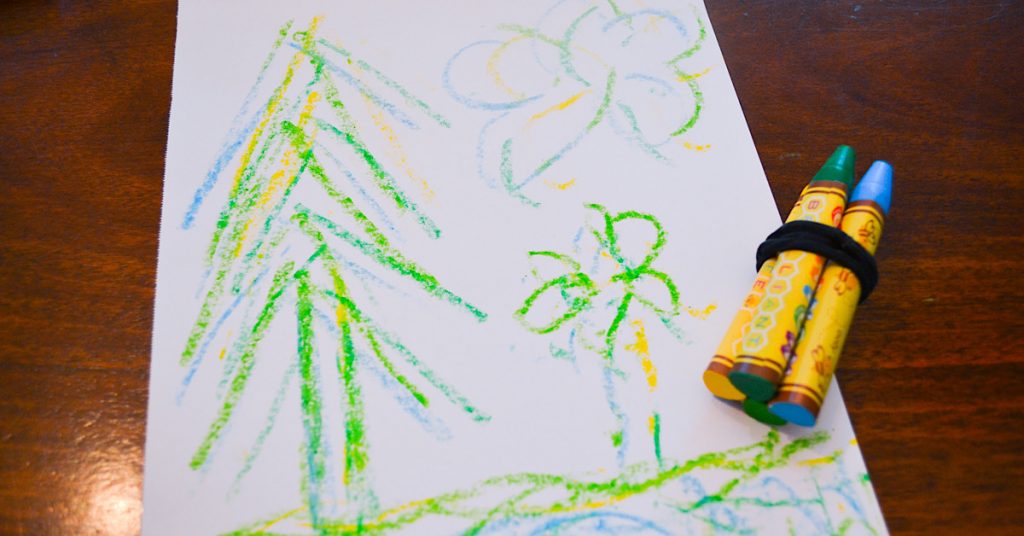
Crayons
Working with crayons is a great way to get even your youngest artists engaged in creating! I love the versatility of crayons - you can use them to draw, to make rubbings, to create wax transfers and so much more. Holding and working with crayons is also a great way to strengthen fine motor skills in young children. Here, I am sharing two very different project ideas using some of our favorite OOLY crayons.Bundled Crayon Drawings
Materials needed:
- The Paper Works Sketchbook
- Brilliant Bee Crayons
- A rubber band or hairband
- Begin by choosing 3-4 colors of crayons that you would like to use in your drawing.
- Once you have selected your colors, place a rubber band or hairband around the crayons to hold them together as a group. Make sure the pointy ends of your crayons are all facing the same direction and are even with each other.
- Next, choose a piece of paper from The Paper Works Sketchbook.
- Hold the bundle of crayons and draw whatever you like on the paper! Your picture will show up in all of the different colors you bundled together.

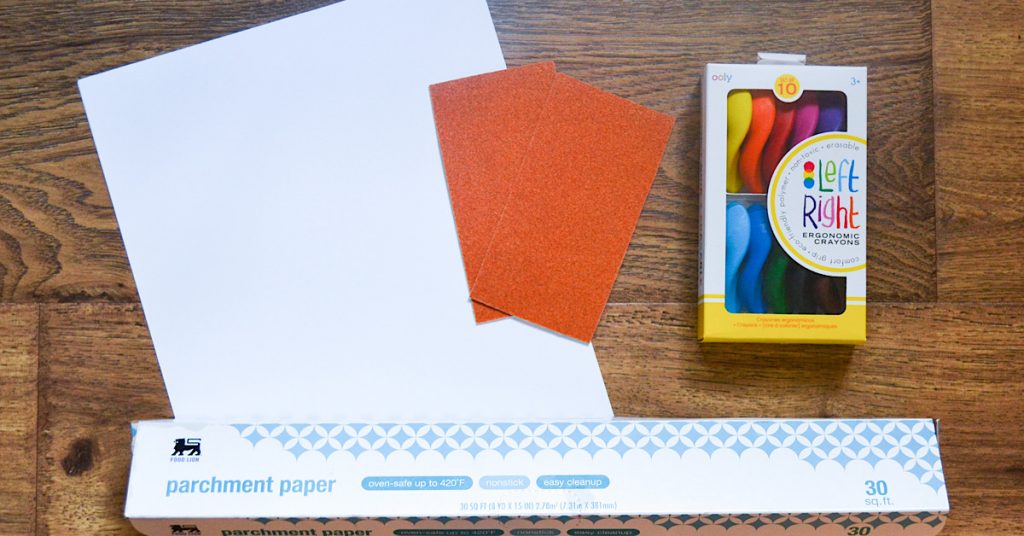
Crayon Transfers
Materials needed:- Left Right Crayons
- Thick white paper
- Sandpaper
- Parchment paper
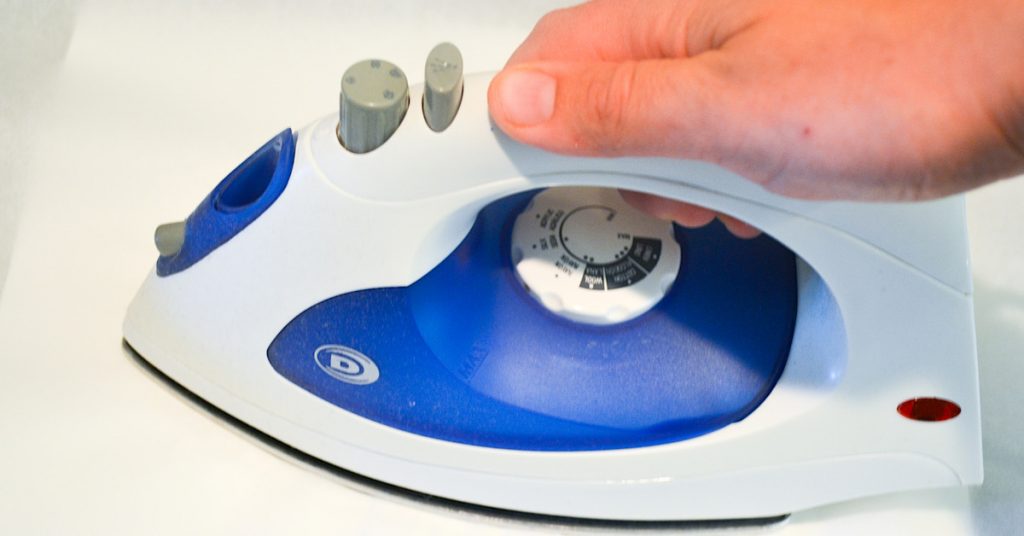
- An iron (and a grown up to help!)
How to:
- Begin by using the Left Right Crayons to color on the rough side of your piece of sandpaper. Press very hard and try to color as darkly as you can! The harder you color, the more color you’ll have in your final product. These ergonomic crayons are wonderful for this project because you are able to press hard without as much breaking as you would likely experience with regular crayons!
- Next, sandwich your colored sandpaper between two pieces of thick white paper. Heat your iron to high heat with an adult’s help. Place a piece of parchment paper down on your ironing board, and then place the thick paper sandwich on top. Cover with another piece of parchment paper.
- Iron over the stack of paper, pressing down as you go and allowing the heat to melt the crayon wax on the sandpaper. You will need to iron for a few minutes - check as you go to see when it is finished. When you are done, carefully peel up the layers of paper and sandpaper to reveal your crayon transfer print! The wax from your sandpaper drawing will have melted and transferred onto the white paper. Let this dry flat before displaying!
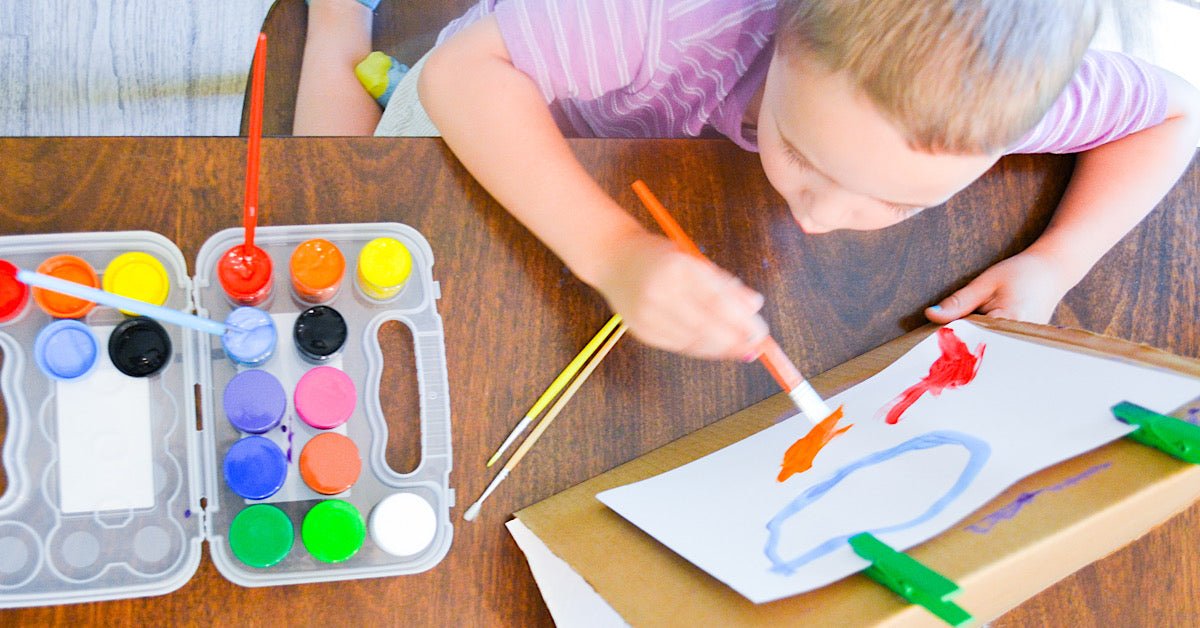
Paint
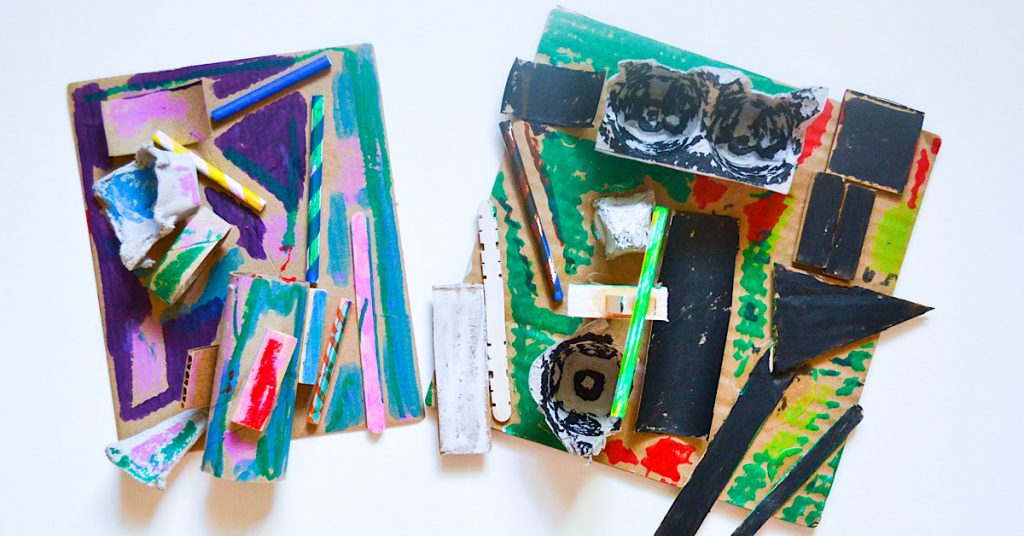
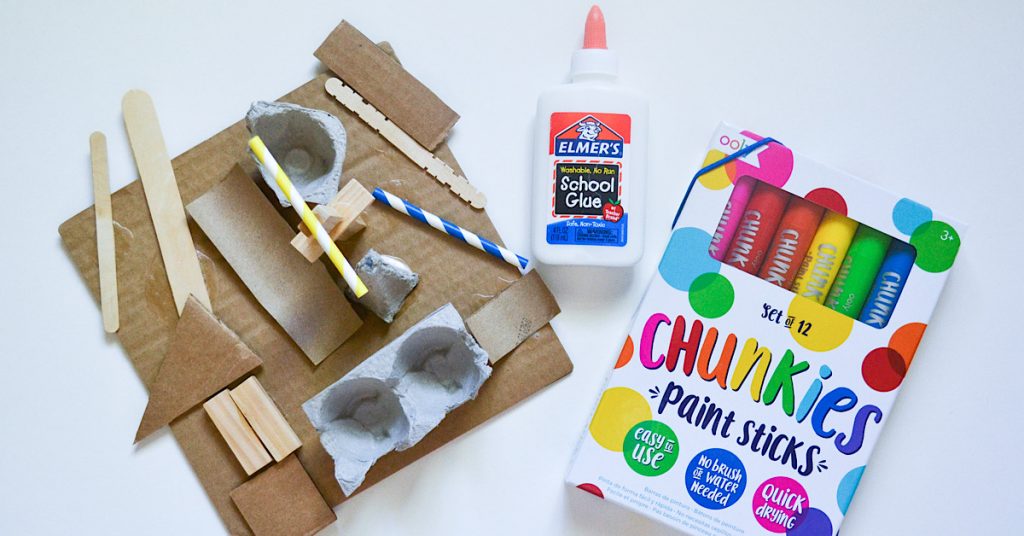
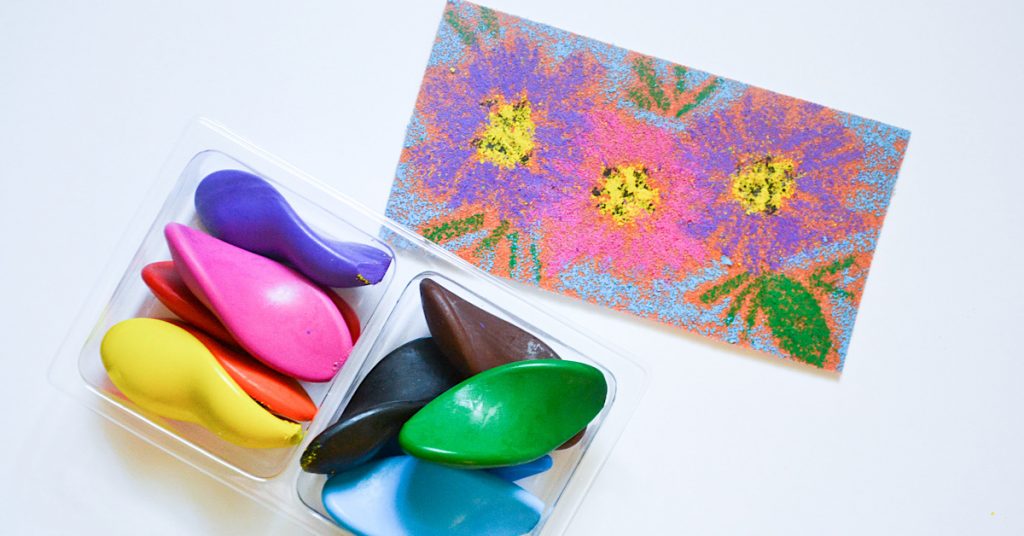
Paint is my kids’ favorite process art supply! The (sometimes) messy sensory experience they get with paint is always a hit. But I have found over time that painting is also incredibly calming for them. Working with a paintbrush forces your child to think differently about how they are creating than with other drawing materials, and if you can work in a vertical surface, like the easel we share below, you are also stretching their hand muscles to work in new and important ways! Below you will find two different ideas for painting projects that you can do at home using recycled cardboard.Recycled Sculptures
Materials needed:
- Chunkies Paint Sticks
- Glue
- Cardboard
- Recycled items such as: cardboard scraps, egg cartons, paper tubes, paper straws, popsicle sticks, etc.
How to:
- The first stage of this project is to build your sculpture. Use your piece of cardboard as the base and glue other items onto it like pieces of egg cartons, popsicle sticks, and paper tubes. You can even incorporate items from nature if you want!
- Let your sculpture dry completely.
- Next, use your Chunkies Paint Sticks to color your sculpture! Paint sticks are a fantastic, mess-free way to add bright colors to your sculpture creations.
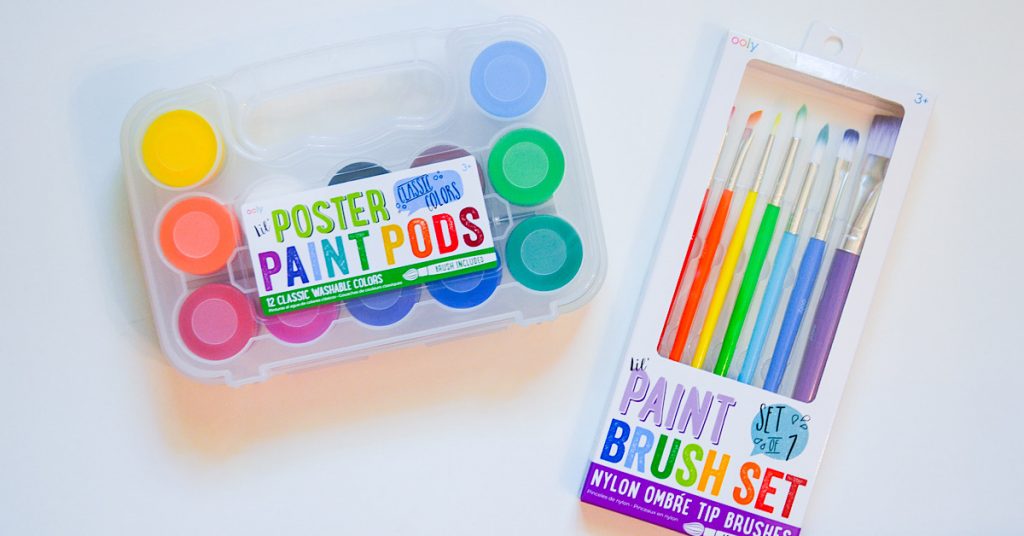
Cardboard Easel
Materials needed:
- Lil Poster Paint Pods
- Lil Paint Brush Set
- Paper
- Cardboard
- Packing tape
- Clothespins
- Glue (hot glue gun works well)
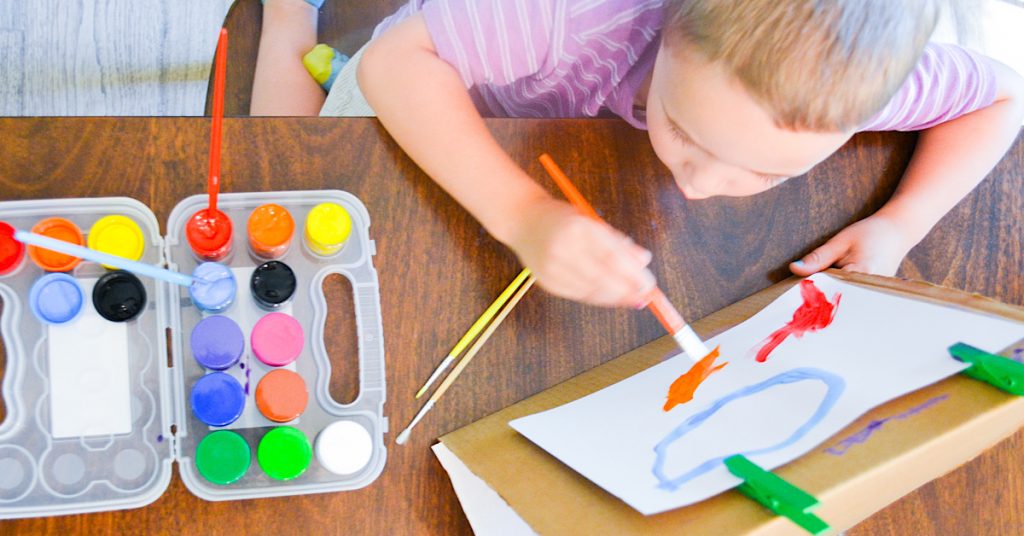
- To create your easel, you will want to begin with a rectangular piece of cardboard. Fold your cardboard into a triangle with two longer sides and a shorter base.
- Use your packing tape to tape the two ends of the cardboard closed. Test it to make sure it can stand on its own!
- Next, use a hot glue gun to glue two clothespins at the top of the easel, one on each side, with the openings facing down. These will be where you can hang your paper to paint.
- Place a piece of paper into the clothespins.
- Let your child use the Lil Poster Pods and Lil Paint Brush Set to paint. You can leave their painting on the easel until it is dry. Your easel can also be used over and over again!
Markers
Our final pair of activities use another favorite art supply: markers! Drawing and coloring with markers provides all of the same calming benefits that we have mentioned throughout this post, and working with markers has some unique fine motor benefits, too. From removing and replacing the cap, to holding the marker as they draw, your child will be building up strength in their hand muscles that they will need down the line as they learn to write, tie their shoes, and to work with small objects. These two activities show the versatility of markers (they’re not just for drawing!).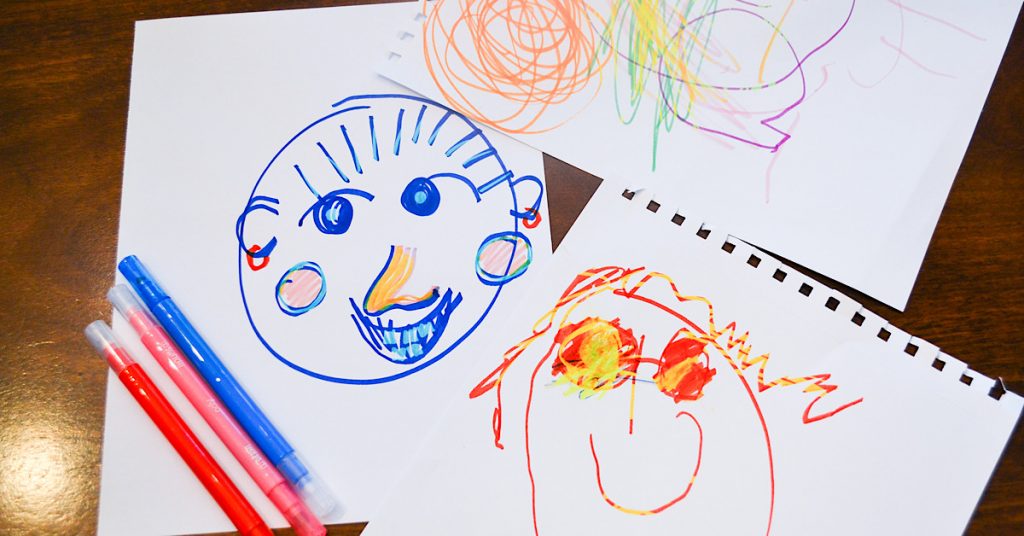
Blindfolded Portraits
For this activity you will draw a portrait of yourself (a self portrait!) or someone else with your eyes closed or blindfolded! Materials Needed:- Switch-eroo Color Changing Markers
- The Paper Works Sketchbook
- Blindfold (optional)
How to:
- If you want to use a blindfold, begin by putting that on. If not, you can just close your eyes.
- Use the colored end of a Switch-eroo Color Changing Marker to draw a picture of a face in The Paper Works Sketchbook without peeking! Try to add details like hair, a nose, eyes, ears, a mouth, teeth, and anything else you want to include.
- Take off your blindfold or open your eyes to see what your portrait looks like! The Switch-eroo Color Changing Markers are a great choice for this project because they are color-changing!
- After you open your eyes to see your drawing, you can use the white side of the markers to change the colors of parts of your portrait by coloring over your original drawing. This adds such a fun twist to your art!
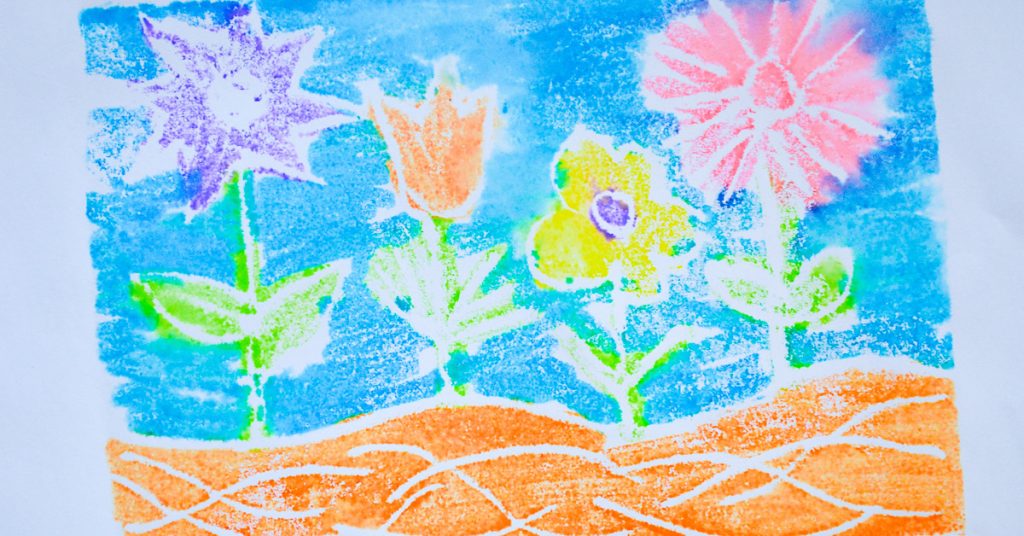
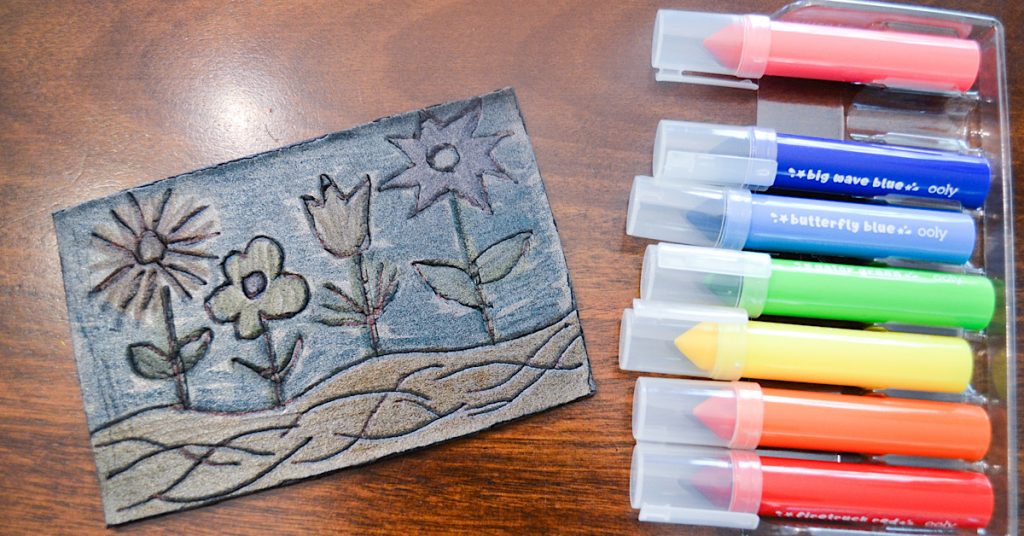
Styrofoam Marker Prints
Materials needed:
- Mighty Mega Markers
- The Paper Works Sketchbook
- Recycled foam tray
- Ballpoint pen
- Scissors
- Spray bottle with water
How to:
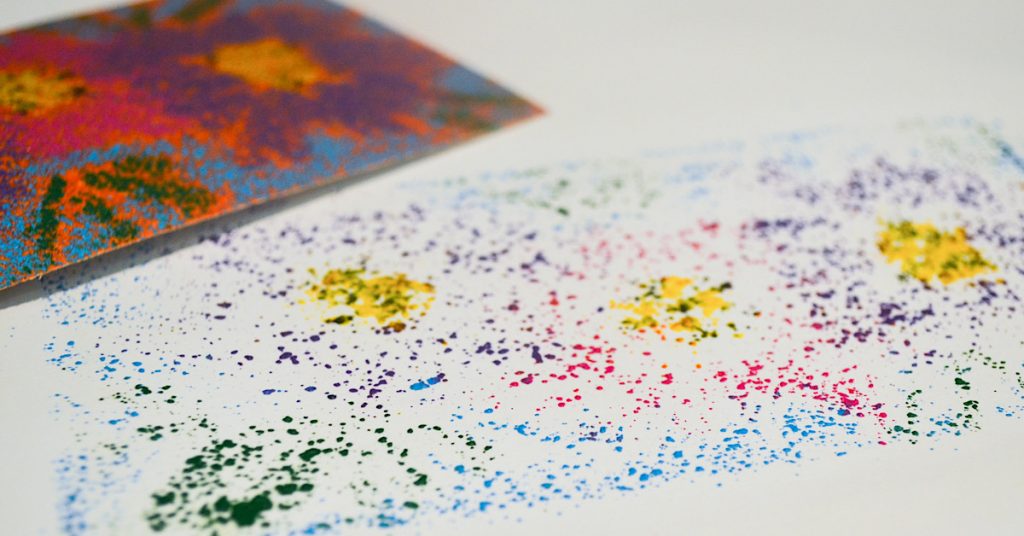
- Begin by using your ballpoint pen to carve a design into your foam tray. We used a recycled foam tray from vegetables we bought at the grocery store.
- After drawing, cut off the edges of the tray so that it is a flat piece.
- Next, use your Mighty Mega Markers to color over the image you carved into the foam. Be sure the color covers the whole piece of foam.
- Use your spray bottle to lightly dampen a piece of white paper from The Paper Works Sketchbook. Flip the paper over and press the damp side down onto the colored side of your foam. Press firmly across the whole piece.
- Peel up your paper to reveal your print! Let it dry completely.
This guest post was written by Emily Limer, a mom of three and preschool teacher from North Carolina. You can follow her on Instagram @makingwithmommy for more kids craft activities.


