arts and crafts

Three Ways to Make Holiday Ornaments

colorful art supplies on white surface with confetti
OOLY has you covered on how to creatively bring the family together this holiday season with holiday ornaments. While spending more time inside, it's a great opportunity to get crafty to decorate around the house. Today we are focusing on three fun and easy ways to make holiday ornaments for every age (because who doesn’t want their space to be adorned with the magic of moments well spent?). Let’s get into it!

paper tree, watercolor paint palette and garland on white surface with confetti

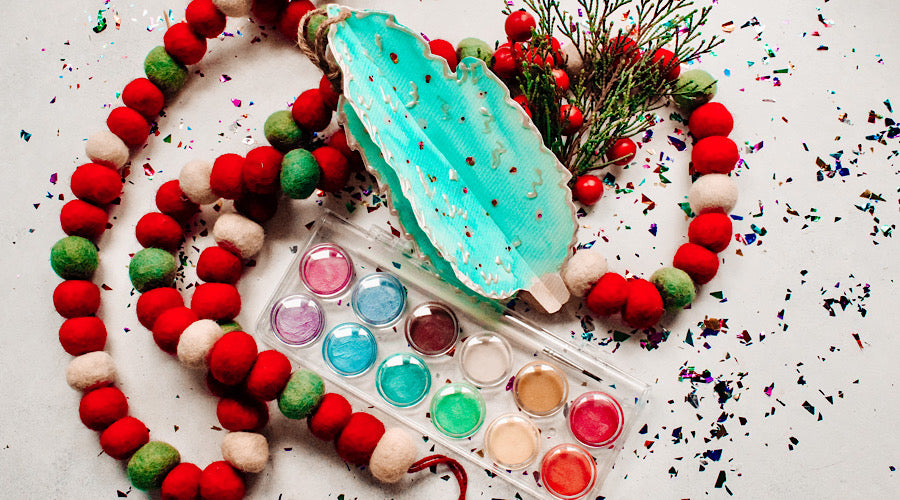
Handy Dandy Tree Holiday Ornaments

Supplies You'll Need: Step 1: Trace yours or your child’s hand (depending on how big you want the ornament to be) on the Chroma Blends Watercolor Paper. Step 2: Use the Chroma Blends Watercolor Paint Set to paint your pine tree either the lighter or the darker shade of green, while using the brown to paint the stump. Pro Tip: While the paint set comes with a paintbrush, I found myself needing to use the Lil Paint Brush Set to spread out the watercolors quicker and easier; I highly recommend investing in them! Step 3: Use the Red Mini Dots Pixie Paste Glitter Glue and dab it onto the tree to represent some ornaments. Next trace the outline of the hand-tree with the White Dot-A-Lot Pearlescent Craft Paint. This helps add some texture to the tree in zig-zig patters, making that pine-look POP! Then repeat these steps again on another sheet of the watercolor paper while the first one dries. Step 4: Cut out the tree with some scissors (and eventually the second tree). Now, flip the trees over and repeat the steps above to have a completed tree on both sides. Step 5: Cut up the middle of one tree and cut down the middle of the second. Then slide the two trees together, with the one that is cut up the middle going on top of the other. Make a hole at the top with your scissors. Finally, loop some twine through it! Your first holiday ornament is finished! If it’s large enough to display in the house, feel free to slide a paper clip up the bottom near the “stump.” It should be able to stand on its own. While this ornament will keep the older kids busy for awhile, get ready to roll up your sleeves for an even easier project to do with the younger ones!

air dry clay ornaments with pixie paste glitter glue on white surface with confetti

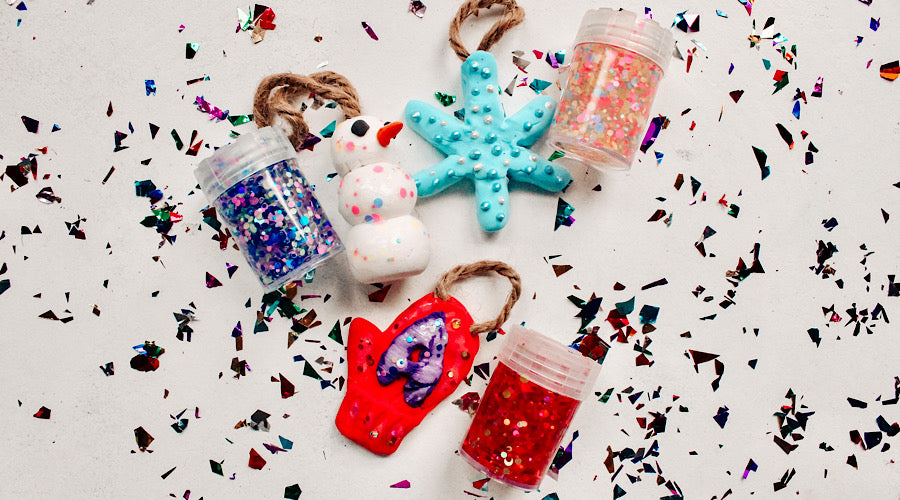
Air Dry Clay Holiday Ornaments

Supplies You'll Need: Step 1: First, we are going to bust out the Creatibles DIY Air Dry Clay Kit and start exploring some shapes figures and whatever else you can come up with! Pro Tip: The packaging reminds you that, while the set comes with 12 colors, mixing them will blend the colors into new ones if you need it. Step 2: Then, make a slot for the twine to go in, whether it be a small hole or sandwich-ing it between the clay. Step 3: Lastly, for an extra little razzle-dazzle, add some of the other materials listed above. I topped off the snowflake with the Blue and White Dot-A-Lot while the snowman and mitten have some Mini Dots Pixie Paste. Make sure all of this dries overnight!

scratch and scribble holiday ornaments with confetti on white surface

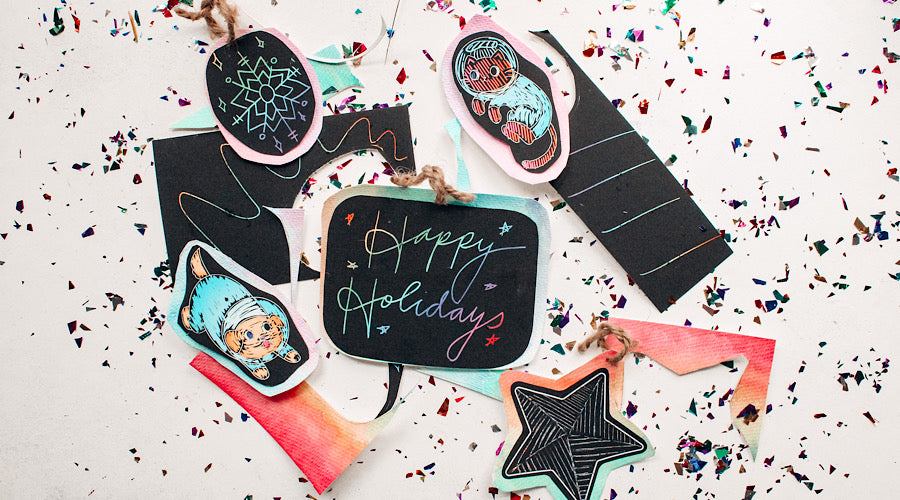
Rainbow Scratch and Scribble Holiday Ornaments

Our last ornament can be easily made while the littles sit in the back of the car on a road trip or while the older siblings are working on their holiday ornaments. Supplies You'll Need: Step 1: First, sort through the packs of the Scratch and Scribble Kit and see what you want to use. Pro Tip: I used one of the holographic stickers, two of the pre-drawn images, and the blank black sheet to create my own pictures. Step 2: Next, scratch away to reveal the rainbow of colors underneath! As soon as you’re satisfied with the look, feel free to grab the water color paper. Then paint again to add a thicker weight and more colorful background to the images. Now, just use glue or tape to stick the papers together. Step 3: Lastly, cut a hole and loop the twine again for a complete ornament! Whether it’s making holiday ornaments or teaching others to use their imagination with these resources, your family is sure to have hours of holiday fun this winter! Happy crafting!
By Noah Castillero

Reading next

coloring book and markers on carpeted floor
colorful planner pages