Why Watercolor?
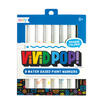
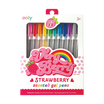
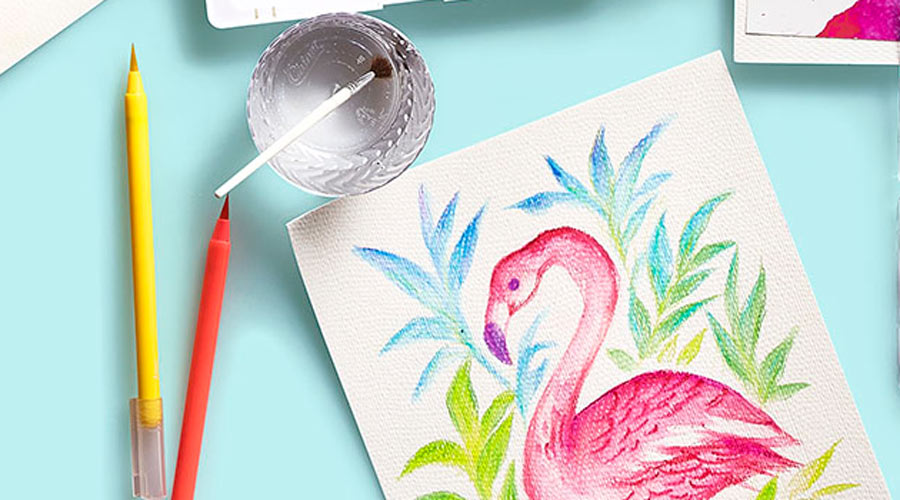
One of the finer qualities of watercolor paint is its versatility. Whether you want to seamlessly blend shades together to depict a soft sunrise or brightly color an eye-catching bouquet of flowers, watercolors can make it happen. On top of that, watercolor is a great medium for beginners as there are many types of easy watercolor art projects you can tackle. Traditional watercolors can be messy and hard to take on the go, but you can achieve the same results with watercolor markers. With OOLY's 18-piece Chroma Blends Watercolor Brush Marker set, you can start exercising your creativity right away without having to stock up on a bunch of fancy equipment.Supplies
Other than the Chroma Blends marker set, you likely already have the other supplies you need on hand:- 1-2 small glasses of water
- Paper towels
- A dinner plate
- A small paintbrush
Getting Started
You can begin experimenting with your markers by following a handful of simple steps:- Arrange several paper towels or an old cloth on top of your workspace to absorb any spills.
- Lay a sheet of watercolor paper on top of the towels, placing your markers, water cups, plate, paintbrush, and a few folded paper towels to the side.
- Dip your paintbrush in water and use it to dampen a small patch of your test paper.
- Pick your favorite color of marker and draw straight and curved lines on both dry and wet portions of the paper. Notice how the ink is brighter and bolder on dry paper, but softer and more organic on wet paper.
- Dip your paintbrush in the water again and use it to blend out the still-wet ink on the dry portions of the paper. Depending on how much water you add, this may soften the color considerably and allow you to pull the ink over a great distance.
- Once these test patches are dry, try layering another shade on top. You can do this using a dry marker or a marker you have dipped in the water.
- Finally, try using a few colors of markers to deposit small puddles of paint on your plate. You can now use your brush and water to apply watercolor traditionally.
Shading Techniques:
To start tackling more complex designs, it's important to build solid shading skills. Shading adds interest to your work and allows you to create the illusion of three-dimensionality. Consider a few different approaches to shading and the results they yield:- Directly Blending Marker Ink: Without using water, place two colors of ink close side by side. Start with the darkest marker, then use the lighter to blend the two colors. This style of shading is bright and leaves sharp color transitions.
- Creating a Gradient on Wet or Dry Paper: Starting with either wet or dry paper, paint a thin rectangle in one section of your paper. Use a wet paintbrush to pull this color in another direction, elongating the rectangle. The farther you get from the original patch of color, the more transparent the ink becomes.
- Mixing Colors on Your Palette: Choose two colors and create a small puddle of each on your plate. Use your paintbrush to grab a bit of each color, mixing them to create a third puddle. This yields a color spectrum you can use to create smooth transitions between shades.
- Removing Color: To lighten up an area you have already painted, simply wet it with your paintbrush and lightly dab away the color with a paper towel.
- Preserving White Areas: To include highlights in your work, cover up slivers of white paper before applying any paint. You can do this using masking tape or a specialty watercolor product known as masking fluid.
Texturing Techniques:
To make your work even more intriguing, you may wish to create the illusion of texture. Because watercolor is not a thick medium, it is helpful to use a few special tricks:- Adding Speckles: To make it look like there is snow or rain falling from the sky, add little speckles to your project. Water down a puddle of ink on your plate and soak some of it up using a paintbrush. Hold the back of the brush in one hand and use the other hand to tap the brush just behind the bristles to scatter small droplets of ink.
- Using Salt: Sprinkle a pinch of coarse salt over an area of wet paint. Let it dry completely before brushing it off. As the salt absorbs the liquid, you will be left with an appealingly inconsistent section of shading.
- Spraying Water: Spraying water over partially or fully dry paint may lighten the paint and even cause it to run in some areas. The result will appear organic, unplanned, and natural.


