


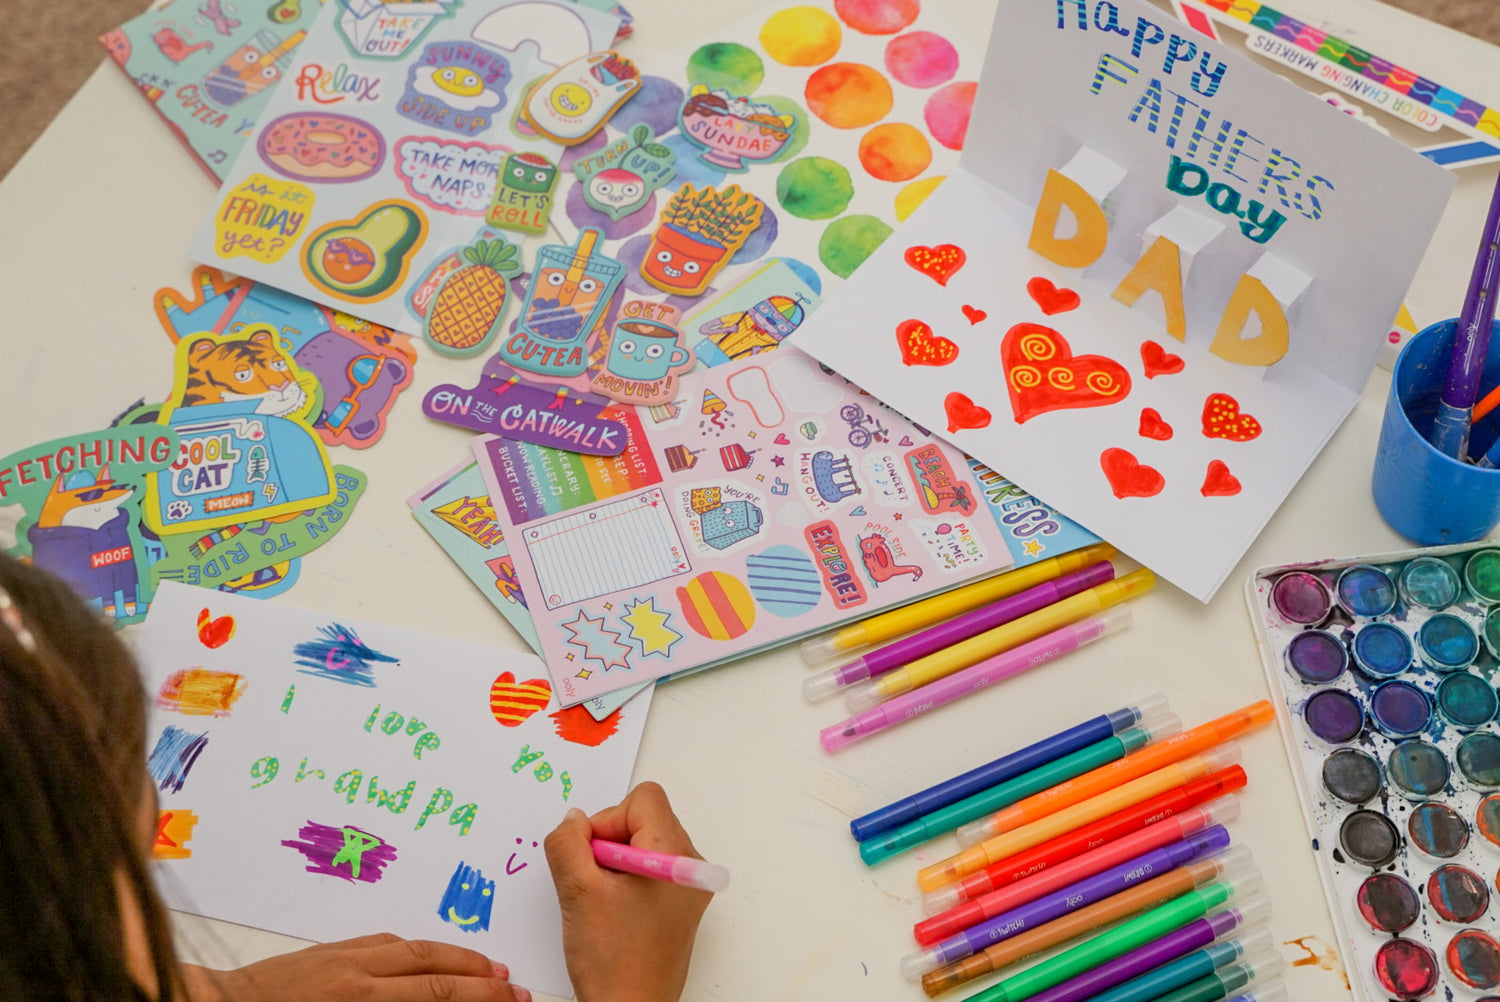
Father’s Day is around the corner and this DIY pop-up card is absolutely adorable! If you have little kids, grandkids, or are a teacher, this would be a perfect card to do with your littles.
Time Duration: 30 minutes
Skill Level: Intermediate
OOLY Products Needed:

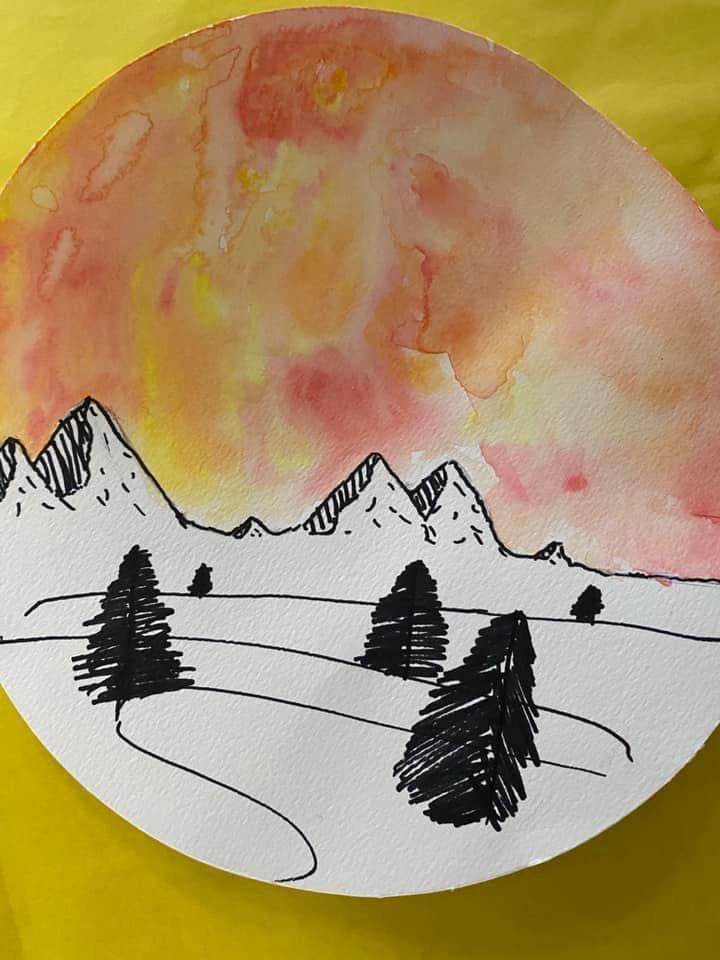
 Step 1: Begin painting on a piece of paper from your ‘Lil Watercolor Paint Pad using your ‘Lil Watercolor Paint Pods and ‘Lil Watercolor Brush Set. My daughter chose to paint her's like the color of a sunset. This paper will be used to spell the word “DAD” in your pop-up card. After you are done painting, set it aside and let it dry.
 Step 2: Fold one of your two pieces of paper in half.
 Step 3: Draw a straight line two inches in from the folded side of your paper. Be sure to use a pencil for this part, such as OOLY’s Noted! Graphite Mechanical Pencil in case you need to erase and re-do the line. I like letting my seven-year-old do this part to help her practice her math and measuring skills.
 Step 4: Using your ruler, make a line at 1.5 inches, 2.5 inches, 3.25 inches, 4.25, 5.25 and 6.25 inches, all from the left side of the paper. Make sure these lines are perpendicular to your folded side of the paper.
 Step 5: Make three lines in-between every other set of lines at .75 inches above the folded part of your paper. It should look like you have 3 capital H letters on your paper.
 Step 6: Using your scissors, cut to the first line while your paper is still folded. Do not cut to the second line yet.
 Step 7: Open your paper up and now cut to the second line.

 Step 8: The pop-ups should open up when your paper is open like a card. Make a fold on the .75-inch line you made earlier.
 Step 9: Glue your second piece of paper to the outside of your pop-up card. Make sure to keep your pop-up parts away from the second piece of paper so they do not get glued.
 Step 10: Your watercolor paper should be dried by now. Using a pencil, write the word “DAD” in block letters on your watercolor paper and cut them out.
 Step 11: Glue them on your pop-ups. This watercolor paper is thick and sturdy which makes the pop-up easy to stand!

 Step 12: Write “Happy Father’s Day” on the top part of your card using the Switch-eroo Color Changing Markers. This part was very fun for my daughter because the color-changing markers make it easy to make designs on the letters.

 Step 13: Decorate the bottom part of the card and the outside however you’d like! We used more Switch-eroo Color Changing Markers and OOLY Stickers.

 My daughter loved making this craft so much, she decided to make one for her grandpa as well! I hope you all enjoy this craft and give it a try to brighten up dad’s special day. Happy Father’s Day to all the wonderful dads out there!
- ‘Lil Watercolor Paint Pods
- ‘Lil Paint Brush Set
- ‘Lil Watercolor Paint Pad
- Switch-eroo Color Changing Markers
- Stickiville Stickers
- Noted! Graphite Mechanical Pencils
- Scissors (adult supervision required)
- Glue stick
- Ruler
- Two Pieces of Paper
Step 1: Begin painting on a piece of paper from your ‘Lil Watercolor Paint Pad using your ‘Lil Watercolor Paint Pods and ‘Lil Watercolor Brush Set. My daughter chose to paint her's like the color of a sunset. This paper will be used to spell the word “DAD” in your pop-up card. After you are done painting, set it aside and let it dry.
Step 2: Fold one of your two pieces of paper in half.
Step 3: Draw a straight line two inches in from the folded side of your paper. Be sure to use a pencil for this part, such as OOLY’s Noted! Graphite Mechanical Pencil in case you need to erase and re-do the line. I like letting my seven-year-old do this part to help her practice her math and measuring skills.
Step 4: Using your ruler, make a line at 1.5 inches, 2.5 inches, 3.25 inches, 4.25, 5.25 and 6.25 inches, all from the left side of the paper. Make sure these lines are perpendicular to your folded side of the paper.
Step 5: Make three lines in-between every other set of lines at .75 inches above the folded part of your paper. It should look like you have 3 capital H letters on your paper.
Step 6: Using your scissors, cut to the first line while your paper is still folded. Do not cut to the second line yet.
Step 7: Open your paper up and now cut to the second line.
Step 8: The pop-ups should open up when your paper is open like a card. Make a fold on the .75-inch line you made earlier.
Step 9: Glue your second piece of paper to the outside of your pop-up card. Make sure to keep your pop-up parts away from the second piece of paper so they do not get glued.
Step 10: Your watercolor paper should be dried by now. Using a pencil, write the word “DAD” in block letters on your watercolor paper and cut them out.
Step 11: Glue them on your pop-ups. This watercolor paper is thick and sturdy which makes the pop-up easy to stand!
Step 12: Write “Happy Father’s Day” on the top part of your card using the Switch-eroo Color Changing Markers. This part was very fun for my daughter because the color-changing markers make it easy to make designs on the letters.
Step 13: Decorate the bottom part of the card and the outside however you’d like! We used more Switch-eroo Color Changing Markers and OOLY Stickers.
My daughter loved making this craft so much, she decided to make one for her grandpa as well! I hope you all enjoy this craft and give it a try to brighten up dad’s special day. Happy Father’s Day to all the wonderful dads out there!
-Craft blog by Danitzia Singh, @themomtessorilife on Instagram.
We would love to see photos of your craft projects! Tag us on Instagram at @WeAreOOLY using #OOLYcreateyourhappy.


