


Craft blog by: IE Tran (@iedoingthings)
With the coming of Spring, I’m feeling inspired to create some unabashedly Spring-themed line art in a pastel color palette that brings all the joy! I can’t wait to spring into some color with this kid-friendly DIY craft.
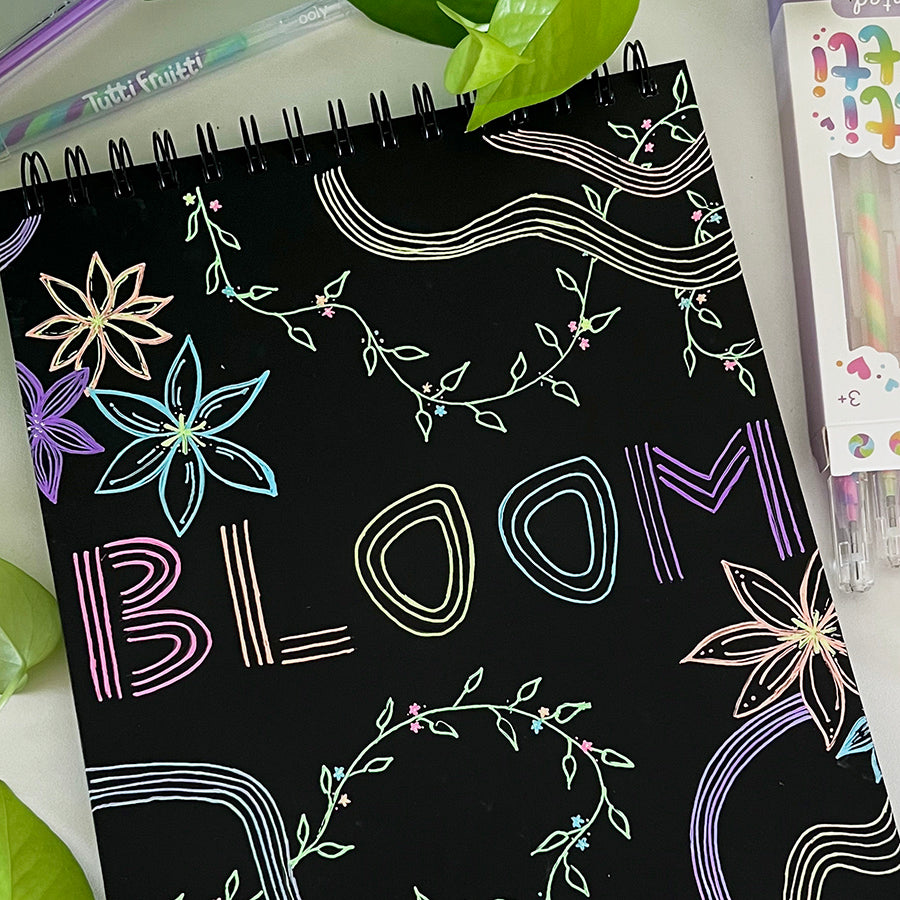
For this simple art and craft, I’m using this Black DIY Cover Sketchbook as the canvas because I love the idea of art you use. Every time you pull out your notebook, you’re reminded of your creative side. With the help of some gorgeous word art using simple line work, you can also create an inspirational reminder for yourself. Plus, I love how these pastel colored gel pens pop on the black background.
Time Duration: 45 minutes
Skill Level: Intermediate
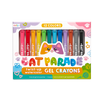
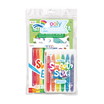
OOLY Products Needed:
Other Items Needed:

- Pencil
- Ruler
Step 1: Gather your OOLY supplies!

Step 2: I’m a little bit of a perfectionist, so the first thing I like to do is use a ruler to find the center of the Black DIY Cover Sketchbook - it helps with overall spacing. But of course, you could always eyeball it!
Once I’ve found the center, I plan out the spacing for the letters. I’m going to write “BLOOM” because it’s Spring and I’m feeling inspired by all the little flowers beginning to sprout.

Step 3: Since gel pens are not erasable, it’s best to sketch everything out in pencil first.
To create impactful word art, I write each letter using three lines (this is why planning the spacing ahead of time is super helpful). Then I sketch two simple flowers - one above the word to the left, and the other below the word, to the right.
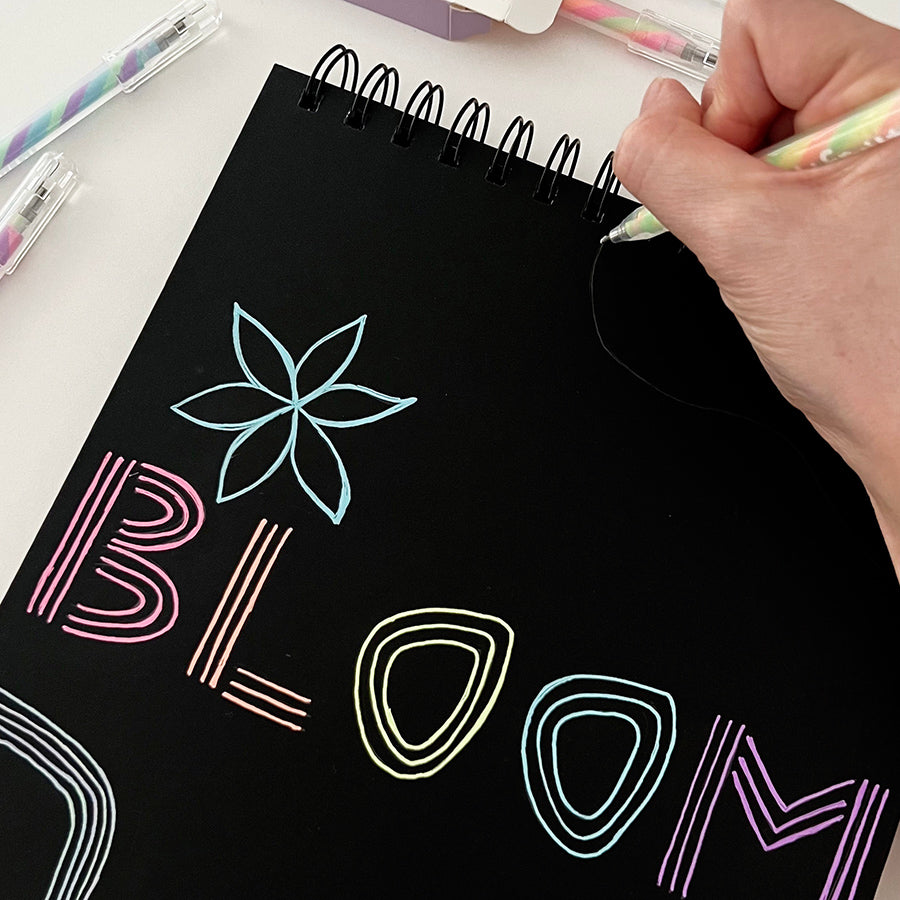
Step 4: Once you’re satisfied with your sketch, it’s time to add the color. Trace over each letter using one color of the Totally Taffy Scented Gel Pens at a time. I used all of them except Apple - which I’ll come back to later. Choose your favorite two colors to trace the flowers.

Step 5: Now it’s time to add some more whimsical lines. I want even more pastels so I’m using the Tutti Fruitti Scented Gel Pens to create the line art in the corners of the cover. Feel free to get creative here, but drawing five lines for each set creates a good visual balance.

Step 6: Don’t worry - I didn’t forget about the Totally Taffy Apple gel pen. I love using this vibrant but sweet green to draw lines and leaves around the top and bottom of the cover.

Step 7: Now, fill in medium-sized flowers next to the large flowers and add in tiny flowers along the vines with Totally Taffy Gel Pens. Add as much or as little as you want - I told you I can’t get enough of Spring!
Now you have a gorgeous, Spring-y, inspirational notebook for writing down affirmations, notes, to-do lists, hopes & dreams - whatever it is! I really do love how these pastel shades come to life on the black background. With just a few simple lines, you’ve made a massively impactful work of art!
We would love to see photos of your craft projects! Tag us on Instagram at @WeAreOOLY using #OOLYcreateyourhappy.


